Getting Started in HOPE 01
Hideout, first kit, and the extraction loop before you get greedy.
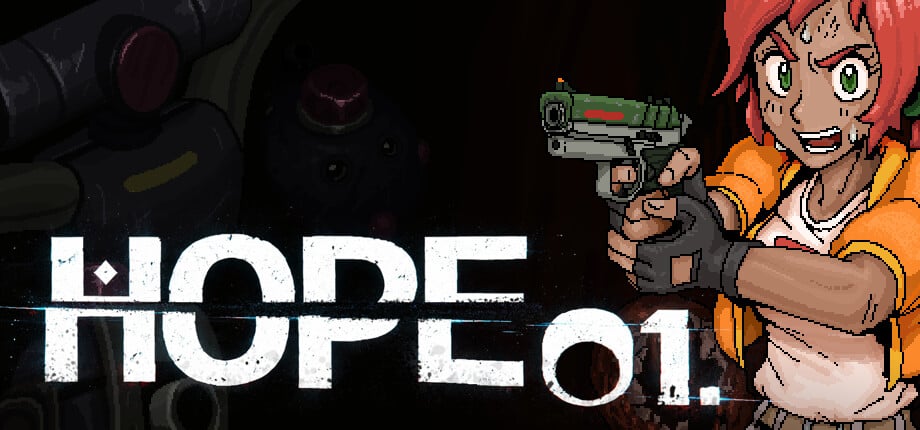
HOPE 01 drops you into a dying underground habitat with a female scavenger, a pixel-art kit, and one job that is not a tutorial checkbox: find HAB 01. Everything else — 70+ weapons, 200+ items, 50+ quests, multiple endings — is downstream of a loop you must respect on run one. Loot the Cluster, extract, stash, scan, print, go back in. Fail the extract and the backpack is gone.
This page is the first-session briefing. Pair it with Controls if the keys feel hostile, and with How to Extract before you wander past your first rail platform. Splattercat’s long demo session in the video on this page is a useful watch for pacing, darkness, and how quickly a greedy corridor becomes a wipe.
The loop, said plainly
- Hideout is safe. Stash tab, fabricator, printed food, loaded magazines. Nothing here can kill you except a bad print decision.
- Cluster is the raid. You spawn into an interconnected Hab Cluster: medical rooms, Bureau of Common Safety signage, Hab Rail, dark service corridors. Enemies and bosses live here.
- Extract is the win condition. Monorail and other extract points run on timers (the Manorial / rail clock sits at the top of the HUD; B or Tab also surfaces it). Miss it and you hunt another point instead of wishing the train back.
- Stash makes it permanent. Only what you extract and park in stash survives the next death.
- Scan makes it repeatable. Blue-marked items in the fabricator have not been learned yet. Scan once per item type and you can print copies with the right fabrics.
If you remember nothing else: a scanned cheap pistol and a successful extract beat an unscanned legendary that dies in a boss room.
First hideout session
Before you sprint into the labyrinth, spend a few minutes in the hideout UI. It is denser than it looks.
- Open inventory with B, Tab, or Escape. Close the same way. The medical box on a wall is an in-world object; E interacts. Do not confuse world loot with the stash grid.
- Find the fabricator. Unscanned items show blue dots. Drag them onto the scanner. Scanning does not consume the item; you still have to decide whether to stash, print, or take it back out.
- Note fabric types. Public / everyday fabrics (the citizen stipend material, also called bricks) print food and clothing-class goods. Medical fabrics cover clinical prints. Military fabrics are the expensive layer. They do not substitute for each other.
- Check food and water. Print a simple consumable if you have the blueprint and the public fabric. Hunger is a loadout problem, not a flavour bar.
- Load magazines by dragging ammo onto the mag, not by tapping a reload key and hoping. Leave the mag in a holster or bag tile you can reach under pressure.
A full control map lives on Controls. A full print economy lives on Fabricator. Do not skip either once you can extract without panicking.
What to take on run one
Early Access lists 70+ guns with rate of fire, muzzle velocity, reload time, and penetration as the four stats that actually matter. You do not need the best of those stats on hour one. You need:
- One ranged weapon you can aim without fighting the inventory. A modest pistol or SMG that you have scanned is enough.
- Melee backup. Left click is knife/fire depending on what is in hand; Space is the dedicated melee attack. Close-range enemies in dark rooms will punish a dry mag.
- Flashlight in the utility slot. Hold left click to light a room. Until you find a tactical light that sits on a gun, lighting the room means you are not shooting. That is the Doom 3 trade and it is intentional.
- Food, water, and a medical item if you have them. A caloric converter burns calories to grant energized and regeneration — useless if you printed no calories.
- Empty grid space. Inventory tetris is real. Items do not always stack the way you expect. Leave a rectangle for fabrics, mags, and one armour piece.
For a packaged kit, use Early Loadouts and tick the Loadout Checklist as you leave.
What to loot, what to ignore
Sparkly floor loot and wall boxes are bait. Grab:
- Any fabric brick you can carry. Public, medical, military — all of it fuels later prints.
- Unscanned items even if the gun is worse than yours. The blueprint is the prize.
- Magazines and ammo types that match what you already shoot. Heavy-round mags are dead weight if you have no heavy gun.
- Food and drink you can use this run. Canned goods and juice are not vendor trash.
Leave:
- Duplicate scanned guns that do not beat your current RoF / penetration and that crowd the grid.
- Giant trophies you cannot extract because they ate the last two rows.
- Side paths that would make you miss the extract you already know.
First extract, not first boss
You will find a boss. Splattercat walked into one by accident after a scan prompt; that is normal. Your first-hour goal is not a boss kill. It is:
- Leave hideout with a light, a gun, and food.
- Loot a short loop near a known extract (Hab Rail and marked Manorial points are the ones footage emphasises).
- Watch the timer. If the rail is a minute from leaving, you are already late.
- Extract, stash, scan. Then print ammo and food. Then go deeper.
The Beginner Walkthrough stretches this into a first-hours route. The Hab Cluster Map explains why the same corridor can be a shortcut after you unlock the right door.
Pain points the UI will not explain
- The HUD extract clock. Press B or Tab and look up. Missing Manorial Extract does not end the run; it forces a different extract. Standing on an empty platform hoping is how kits die.
- Blue dots. Those are unscanned. Scan them. Printing without scanning is spending fabrics on a one-off.
- Dropping fabrics on the buy slot. The fabricator wants bricks on the purchase slot (top-right in the demo UI). Dropping them on the floor of the hideout does nothing.
- Darkness. If you cannot see the enemy, you will waste ammo. Light, dodge (double-tap A or D), then shoot. Do not spray.
- English-only UI. The in-game language is English. This wiki’s other locales are for the website, not the client.
After you extract twice
Once two kits have survived, you are no longer a tourist. Priorities flip:
- Print a reliable gun and a spare mag instead of a new body.
- Start ranking weapons by the four stats on the Weapons Tier List.
- Learn one district well rather than mapping the whole Cluster. Medical and Bureau rooms have different loot and different enemy density.
- Put a boss on the calendar only when you have food, light, and a scanned gun you can reprint. Boss Fights is that conversation.
HOPE 01 entered Steam Early Access on September 15, 2026, as a completable single-player campaign with multiple endings and a stated EA window of about a year or less. You have time. The Cluster does not owe you a fair first run. Steal the second one by extracting the first.
Frequently Asked Questions
Quick answers to the most common questions.
What should I do first in HOPE 01?
Learn Controls, scan starter loot in the Fabricator, then do a short run and extract. Do not hunt a boss on hour one.
Do I lose items when I die?
Yes. Unextracted run loot is gone. Blueprints you already scanned stay learned, which is why scanning before a risky fight matters.
Is there a tutorial that covers the timer?
The game prompts you to check the Manorial Extract timer (B or Tab, clock at the top). How to Extract explains what to do if you miss it.
Should I print a better gun immediately?
Only after you have scanned it and can afford the fabrics. Early prints should be food, ammo, and a gun you can replace. See Early Loadouts.
Is HOPE 01 multiplayer?
No. It is single-player PvE. You are not competing with other scavengers for extracts.